Creating CharData Assets
The Character Data Asset is essentially everything about your creature wrapped into a single package, and is mandatory for creating a playable creature. Once you set up your Character Data Asset, it will automatically be detected by the game and display on the Character Selection screen. You do not need to slot it into anything to get it working.
WARNING
When working with the Character Data Asset, be sure to save frequently, as any incorrect entry may cause a game crash upon trying to play.
Step 1: Create your CharData Asset
- Inside your creatures folder, right click and create a new Data Asset with the class “CharacterDataAsset”, and click “Select”
- Name your Data Asset “CharData_CreatureName”
Step 2: Setup CharData Asset
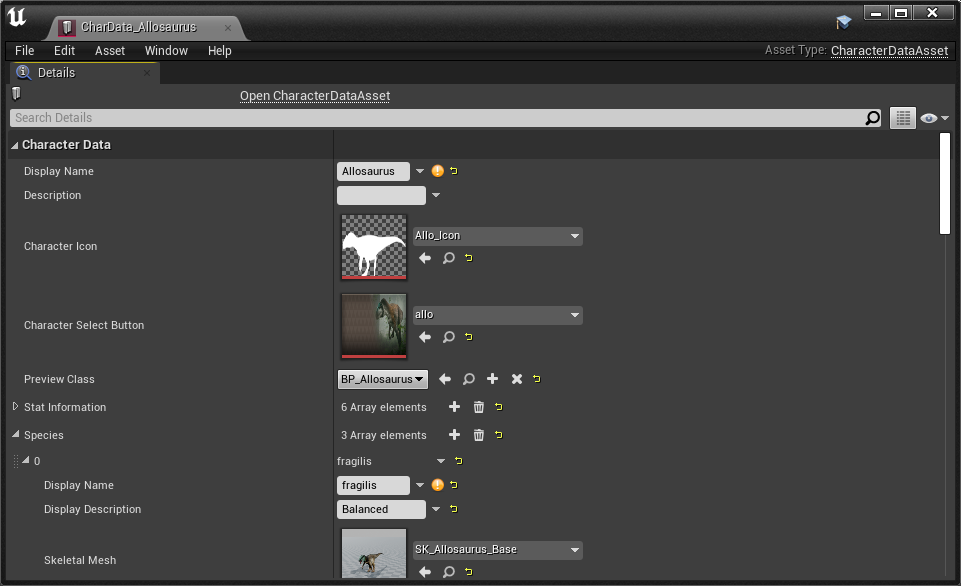
Open the Data Asset and take a look at it’s contents. The following table describes everything within the CharData Asset:
| Variable Name | Description |
|---|---|
Display Name | the name of the character as it displays on the character creation screen and in-game. |
Description | the description of the character. |
Character Icon | a side-view silhouette of the character as seen on the character creation screen. This must be a solid white colour. Usually we take a side-view screenshot of the character walking. |
Character Select Button | the image of the button of your character when selected from the character select list. You can use this template to make your own. ▶ Download Link (Photoshop)◀ |
Preview Class | The blueprint of the character. |
Species | Slot in the alternate subspecies mesh and name of the subspecies. |
Skins | assign all the Skin Data Assets to these slots. These MUST be correctly assigned or it will cause a crash. |
Character Type | determines the category of the character in the character creation screen (Carnivore or Herbivore). Generally if you have an omnivore character we suggest you put it in the Herbivore category. |
Quest Reward Multiplier | Increases the amount of Marks that this character earns from completing quests. This should be increased slightly (ex. 1.1 or 1.2) if your character is slow and won't be able to complete quests quickly. |
Group Slot Requirement | The amount of group slots your character takes up when they are an adult. Your character will begin as a hatchling using 1 slot, and will linearly increase its number of group slots as it grows until it reaches this number at Adult. Example: Baby Allo = 1 Slot, Adolescent Allo = 2 Slots, Adult Allo = 3 Slots. |
Manual Group Slot Requirement | Check this box if you want to manually change the number of group slots your character uses as it grows. |
Manual Group Slot Requirements | Specifies the group slots that are used when the character is at each growth stage. The first column is the growth amount, and the second column is the number of slots. Growth stages are: Hatchling = 0, Juvenile = 0.25, Adolescent = 0.5, Subadult = 0.75, Adult - 1.0 |
Various Checkboxes | To make your creature work, you must only check off the following boxes: Full Game Only Released Released in Demo Show in Demo |
Aquatic | Check ON if your character is a purely aquatic creature, such as a marine reptile like Kaiwhekea. |
Flyer | Check ON if your character is able to fly. (If your character can both swim and fly, only use Flyer) |
Required Remote Config | Must be left blank or else your creature will not display. |
Preview Target Arm Length | the zoom of the camera around the character in the character creation screen. |
Preview Socket/Target Offset | Offset the camera or the character in the character creation screen to better center the character. |
Summary
If you follow all the above steps, you should have the following:
- A completed Character Data asset
- A white character selection icon
- A Character Select Button
Congrats! You can now move on to the next step.