Creating Wound Textures
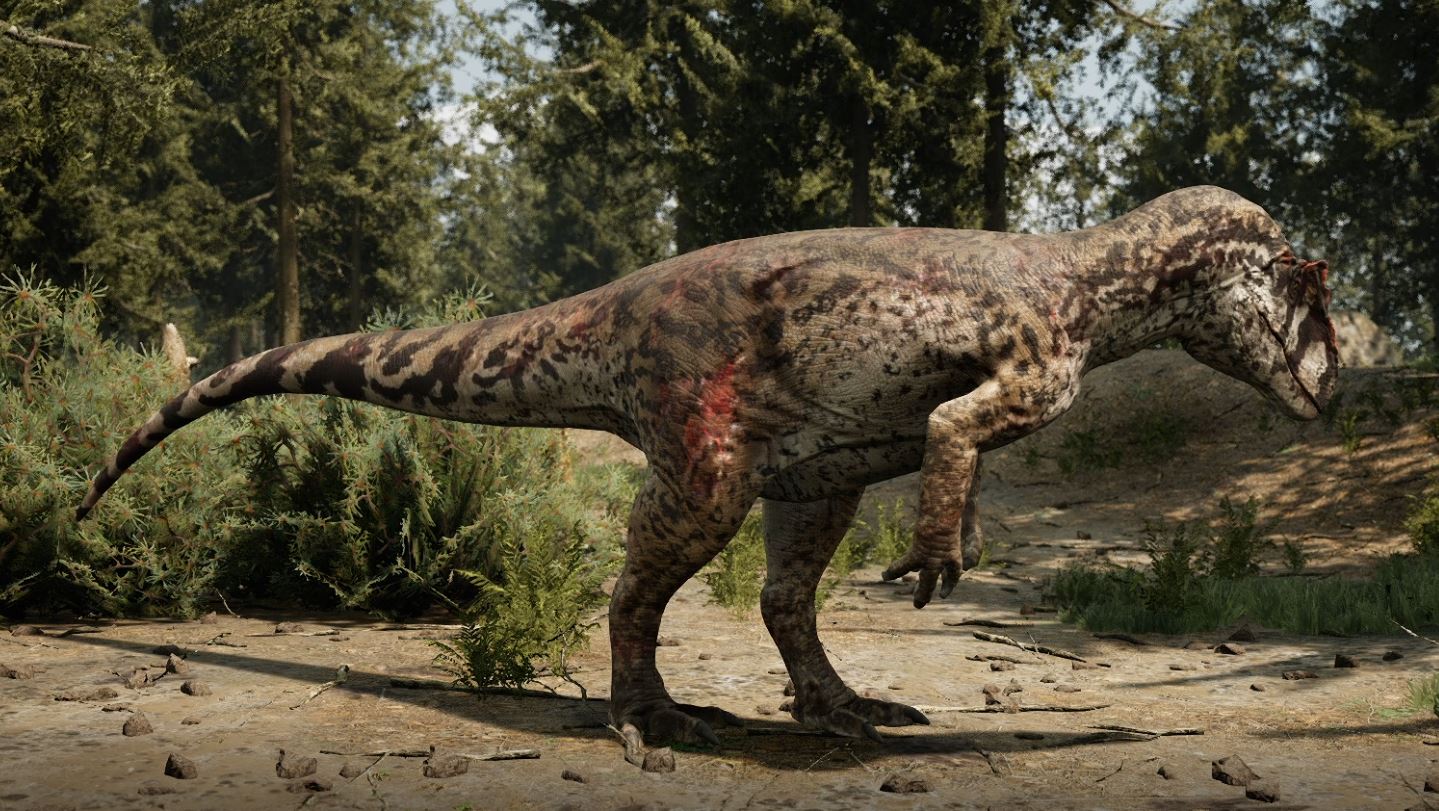
Within Path of Titans, when dinosaurs attack each other they cause locational damage. This damage will cause a wound to appear on your dinosaur based on where it was hit. In this tutorial we will create the masks the game uses to determine wound locations.
If your creature has more damage areas than the ones listed below, you will have to get creative and share/use wounds across different body parts. We only support a maximum of 19 damageable areas. For example, if your creature has two heads, you might be able to use Head Left and Head Right for the left and right heads respectively.
Watch the video tutorial here:
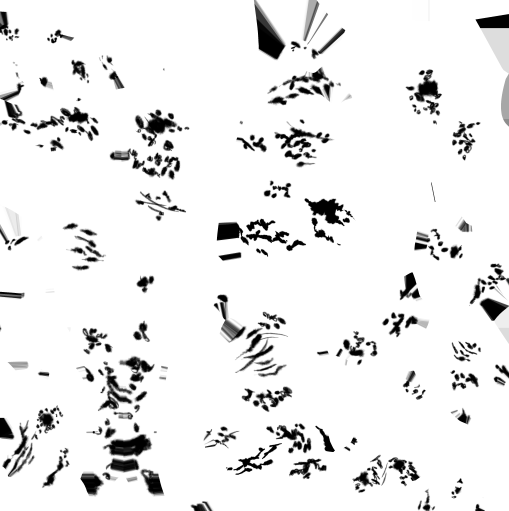
Wound Mask
- Resolution:
512x512
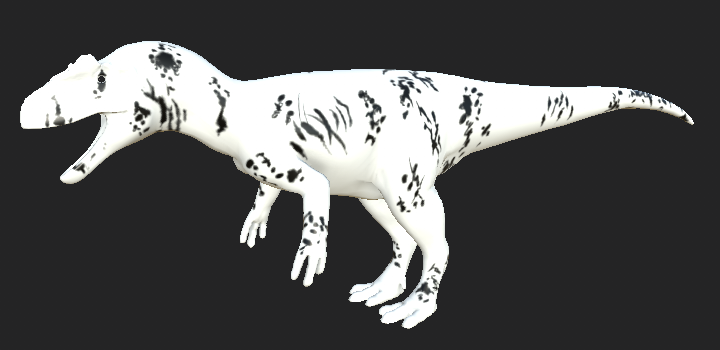
In your 3D painting software, create a wound mask that covers your entire dinosaur. It should have at least one wound on each body part listed below.
Here are also some wound brushes you can use. They are the same ones used on the base game dinosaurs, so they will match the style. They are free to use, and you do not need to credit Alderon Games: ▶ Download Link ◀
Wound Location Mask
- Resolution:
64x64
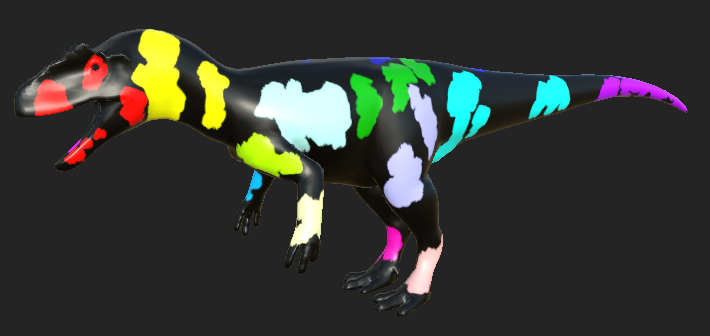
This mask is essentially a colour-coded map of where every body part is and where the wound on that body part is located. The colours listed below MUST BE EXACT or else the mask will not work. We suggest you use the eyedropper tool to grab the exact colour displayed in the table.
This texture is very small, and when you export it you want to try and preserve extra crisp edges without any aliasing or blending.
You can optionally export the texture from your 3D Painting Software and resize it in some image editing software, like Gimp, Photoshop, or Paint.NET. When resizing the image, use the "Nearest Neighbour (Preserve Hard Edges)" option to keep nice crisp edges on your colour blocks.

| Damage Locations | Red | Green | Blue | Eyedropper |
|---|---|---|---|---|
| Head Left | 255 | 0 | 0 |  |
| Head Right | 255 | 0 | 255 |  |
| Neck Left | 255 | 255 | 0 |  |
| Neck Right | 0 | 255 | 0 |  |
| Shoulder Left | 188 | 255 | 255 |  |
| Shoulder Right | 188 | 0 | 0 |  |
| Body Left | 0 | 188 | 0 |  |
| Body Right | 0 | 0 | 188 |  |
| Tail Base Left | 0 | 255 | 255 |  |
| Tail Base Right | 0 | 0 | 255 |  |
| Tail Tip | 188 | 0 | 255 |  |
| Left Arm | 188 | 255 | 0 |  |
| Right Arm | 255 | 188 | 255 |  |
| Left Hand | 255 | 255 | 188 |  |
| Right Hand | 0 | 188 | 255 |  |
| Left Leg | 188 | 188 | 255 |  |
| Right Leg | 188 | 255 | 188 |  |
| Left Foot | 255 | 188 | 188 |  |
| Right Foot | 255 | 0 | 188 |  |
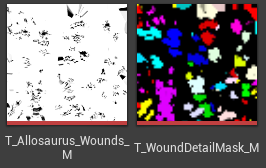
Summary
If you follow all the above steps, you should have these final textures that will be used in-game:
- Wound Mask
- Wound Location Mask
Congrats! You can now move on to the next step. Back to tutorial.