Setting Up Biomes
"Biomes" are a system used by map artists to make certain areas of their maps have different particle effects, underwater tints, weather effects, post-processing, sound effects, and more. Use this system to make different areas of your map more unique and discernible.
This system is not required, and you can skip this step if you do not need to create distinct natural areas on your map. (For example, if you are making a small map, or your map is all the same setting)
Example of the full biome setup, where each shape contains a specific biome type:
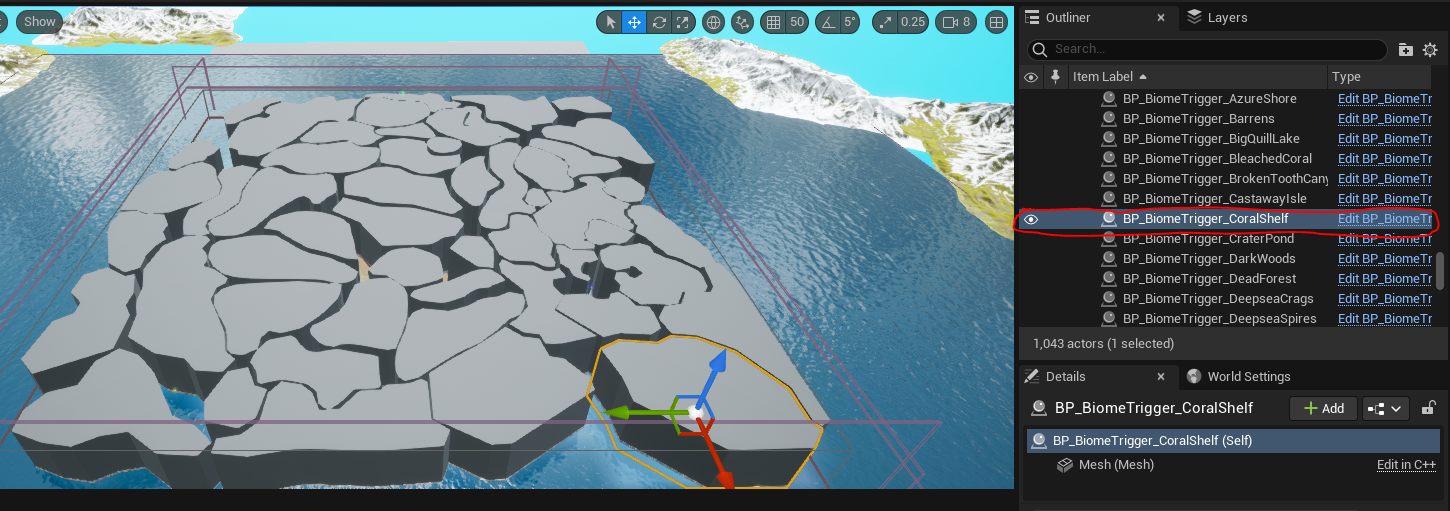
Step 1: Place And Tag Biome Volumes
- On the persistent level of your map, place a BP_BiomeTrigger

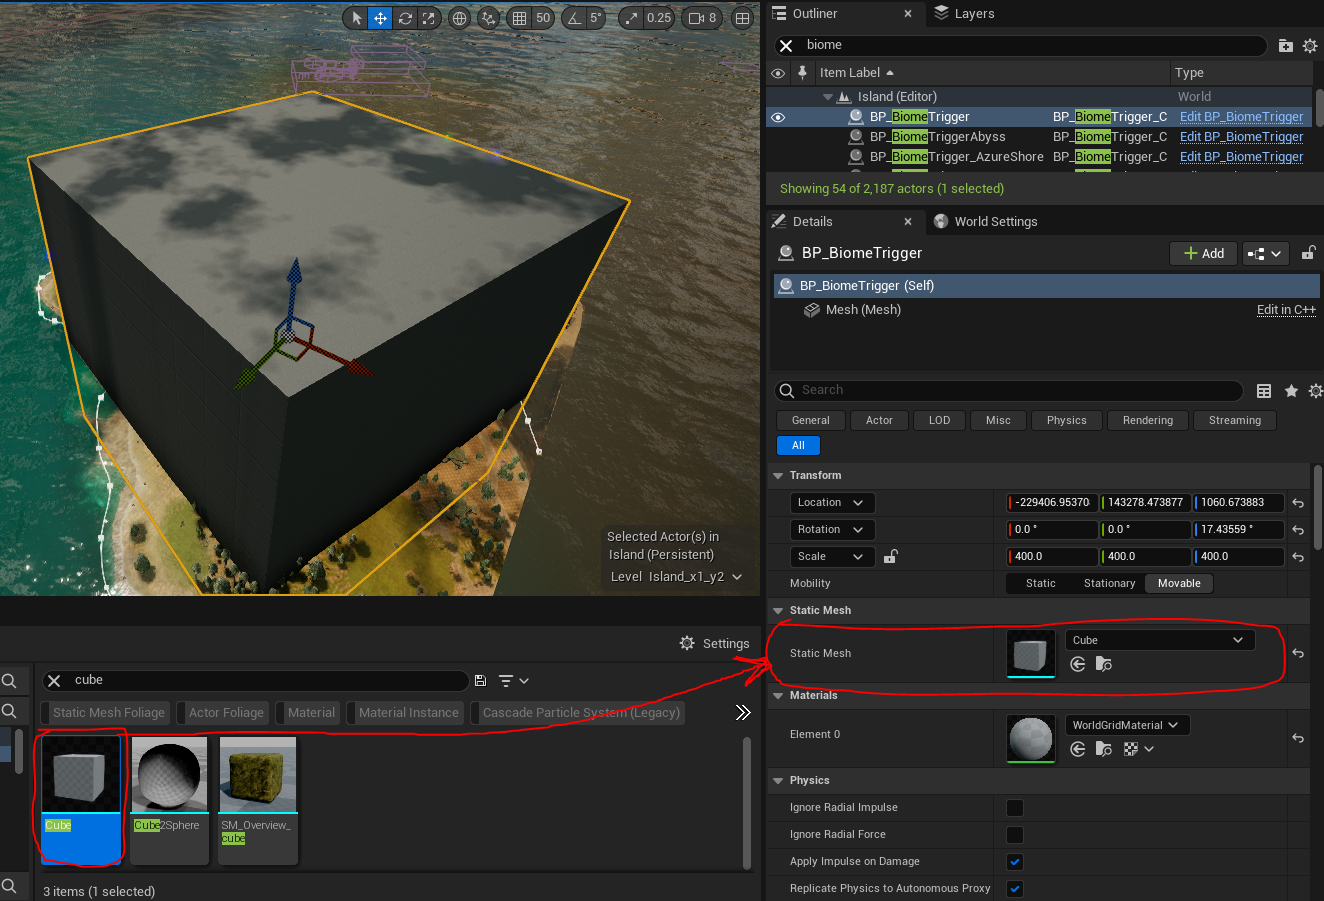
- Assign a Static Mesh to your BiomeTrigger. This mesh can be anything you like, such as a curved shape (as seen in the overview image above). If a player enters this mesh volume, they will be considered inside this biome.
TIP
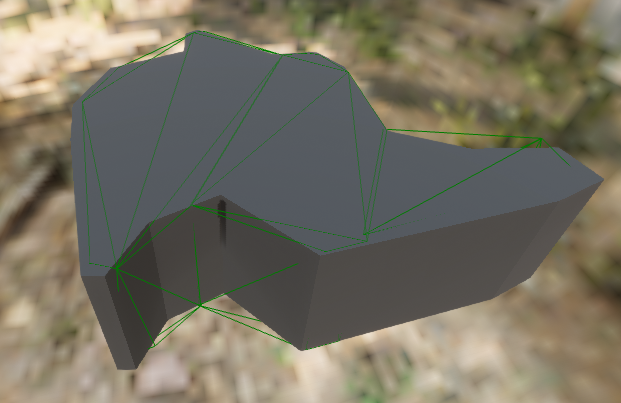
It is important the mesh you are using has appropriate simple collision, as it is the collision of the mesh that determines the boundaries of the biome, and NOT the mesh itself. For example, this biome mesh used on Gondwa has accurate collision (seen as green polygons).
Example of mesh collision used to determine biome boundaries.
TIP: You can generate your own collision by using the "Convex Decomposition" tool, found by opening the mesh in the Static Mesh viewer, and selecting Collision > Auto Convex Collision
Place as many biome triggers as you like, just ensure they are all on the persistent level, and MUST NOT overlap.
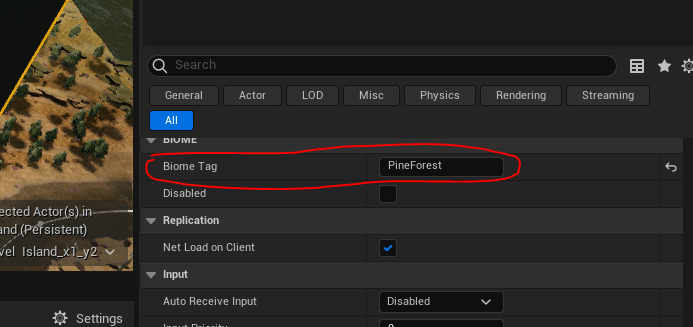
Assign a
Biome Tagto each BiomeTrigger. This tag is completely up to you. We suggest naming it something descriptive, such asDesertVolcanoBeachSnowDeepOceanMountainPeaketc.
TIP: You can use the same biome tag for multiple BiomeTriggers if you want them to have the same effects, such as assigning a Grasslands tag for all your grassland areas.
DANGER
Your tag CANNOT contain spaces.
Step 2: Update UltraDynamicSky
- Select the UltraDynamicSky blueprint found on your persistent level.
- Check ON the
Use Advanced Biome Ambiencecheckbox. - Under the
Advanced Biome Ambiencesection, create a new entry calledDefault.
Default is the biome your map will fall back to when a character is not found in any other biomes. You for these settings, we suggest looking at the default settings found on the Gondwa map (called "Island" in the dev kit) and using those.

- Now, you can create new entries based on the tags you assigned in Part 1. You can assign different particle effects, post-processing, and more.
Step 3: (Optionally) Assign Water Tinting
If you are using a large water plane, you can use the biome system to tint the water too!
If you are using 1 huge ocean water plane, the issue you will run into is how the entire ocean uses the same colour. This can take away from the uniqueness of each underwater biome. Use the biome system to fix that!
- In the UltraDynamicSky
Advanced Biome Ambiencesection, create an entry you want to use for your water area. (ExampleKelpForest) - In the entry you just created there are 3 colour options:
Underwater Clean Fog Color CurveUnderwater Clean Tint Color CurveandUnderwater Far Clean Fog Color Curve. Assign the colours here you want to use. Note that the colour is a curve so you can change the colour of the tint at night to be darker.
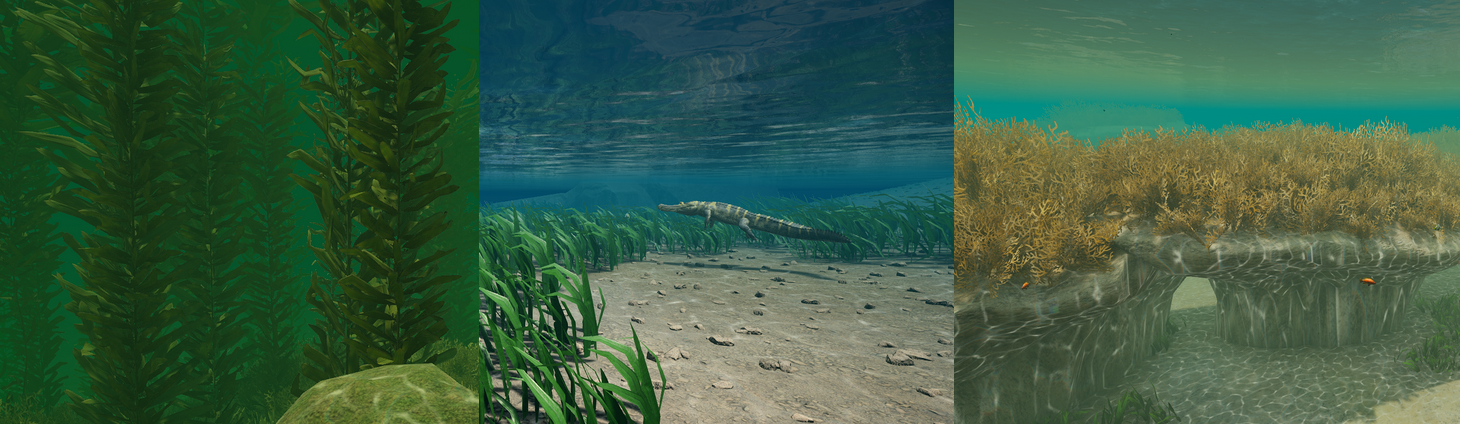
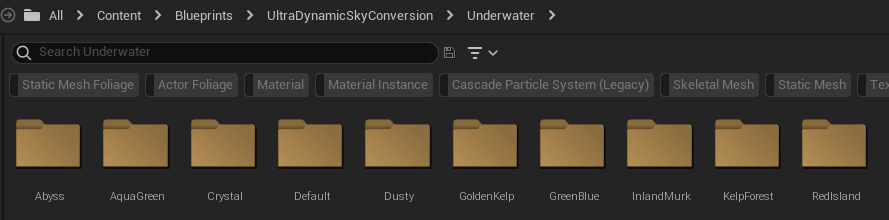
A bunch of presets can be found at Content/Blueprints/UltraDynamicSkyConversion/Underwater that you can use that should work well.
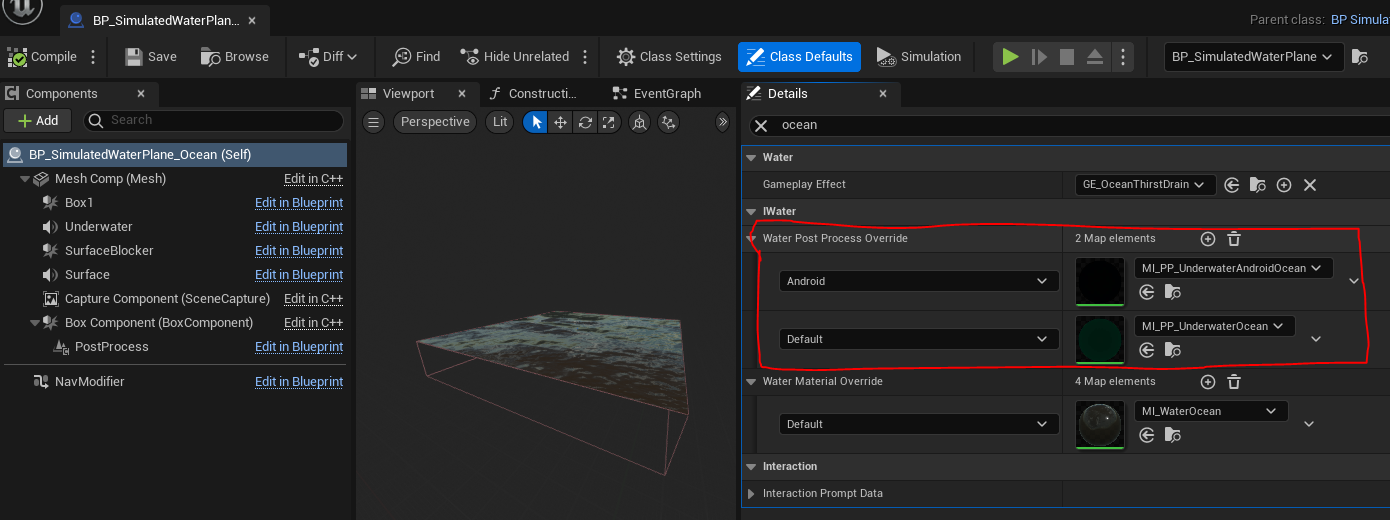
- After assigning colours, you must also use a very particular post processing material on your water plane. Open your water plane blueprint, and assign
MI_PP_UnderwaterOceanto your Default option, andMI_PP_UnderwaterAndroidOceanto your Android option. This material can be found inContent/Dinosaur/Material/PostProcess
- Test and see if this works correctly by playing the game and swimming between different biomes. Please note, you will only see the water tinting when you are playing the game, and not when you are in editing mode.
Summary
By following this tutorial you will have completed the following:
- Placed down Biome Trigger blueprints into your persistent level
- Assign Biome tags to each blueprint
- Assigned tags to your UltraDynamicSky blueprint and set up effects
- (Optionally) assigned ocean tints to your biomes