Adding Footprints to Your Creature
When creatures walk, they will leave behind footprints. You must set up cues inside your animations to tell the game what sounds to play, when to play them, and at what foot the sound should come from. We also need to set up your footprint textures in the creature's Blueprint, and make adjustments to the rotation of the footprint.
Step 1: Set Up Footprint Cues
Inside your movement animations, like walking, trotting, and sprinting, you must set up footprint cues. These will tell the game to place a footprint down at that location with a certain texture and play a certain sound.
- Open your movement animation, such as a walk or trot.
- Right click on the Animation timeline at the bottom of the window and select
Add Notify > FootstepThis will create a footstep notify on your timeline. - Click on the footstep notify and look at the details panel on the right.
Set up the footprint cue according to the settings below.
INFO
If a setting is not listed below, you can just leave it as defaults.
| Name | Description |
|---|---|
| Socket Name | The name of the socket that the footprint will appear at. This should be the same name as the sockets you create in Step 2 below. (Foot_l Foot_r Hand_l or Hand_r) |
| Footstep Type | The type of movement this footstep will be. Walk = Walking Run = Trotting Sprint = Running. All other types are unused. |
| Front Foot | Check this box if it's a front foot footprint. Uncheck this box if it is a back foot footprint. If your creature is bipedal, leave this checked. |
| Right Foot | Check this box if it's the right foot. Uncheck this box if it's the left foot. |
| Pitch Multiplier | Changes the pitch of this footprint. |
| Volume Multiplier | Changes the volume of this footprint. |
TIP
You can add variety to your footsteps by changing the Pitch and Volume of your footprints. For example, you can slightly pitch up the sound of the left footprint and pitch down the right footprint, causing your creature to not sound as repetitive when it walks. This is especially effective on quadrupedal creatures, where you can give it a galloping sound by changing pitch and volumes, similar to a horse.

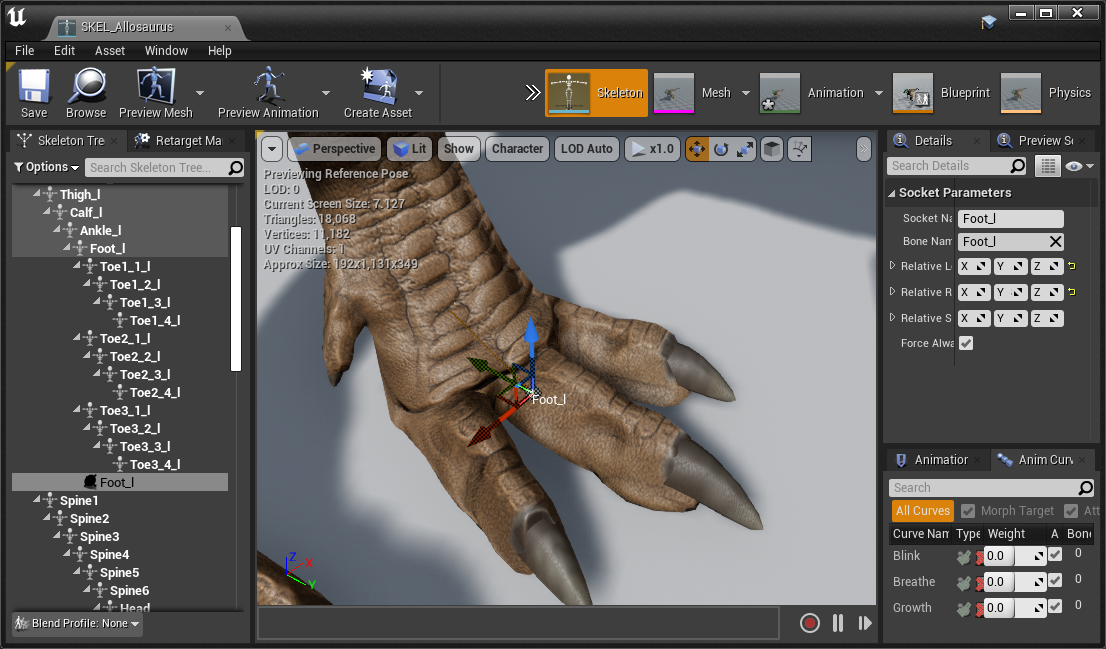
Step 2: Align Footprints in Skeleton
Because footprints are aligned based on the orientation of your creatures foot bones, we may need to adjust the rotation of the foot bones. You can do this by creating Foot Sockets for each foot and rotating that.
- Open your creature's skeleton.
- Right click on a foot bone and select "Add Socket"
- Rename your socket to
Foot_lFoot_rHand_lorHand_rdepending on which foot you are adding. Back feet useFootand front feet useHand. - Use the move and rotate tools to move the socket forward so it is in the middle of your creature's foot.
- Rotate the socket so that it has the same orientation as the image below. If this rotation isn't set up correctly, your footprints may point backwards or sideways.
- Do this for all other feet on your creature and save your skeleton.
Step 3: Create Footprint Textures
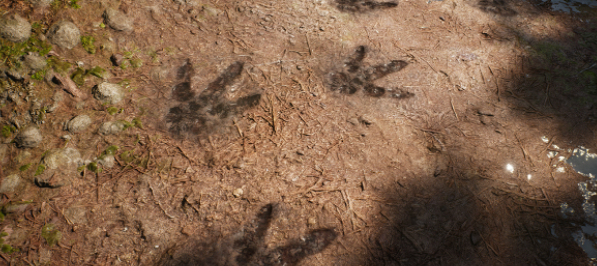
It is important to have your footprints accurately reflect the shape of your creatures feet so players can more easily track your creature.
TIP
If your creature has a foot shape that is similar to a base game dinosaur, you can simply use that base game footprint texture.
You can find the base game footprints in Content\Dinosaur\Materials\Footprints You can use these as reference when creating your own footprint textures.
Footprints require 3 textures: AOMR Base Colour and Normal Map
You can have a unique texture for the front foot and the back foot.
| Preview | Name | Resolution | Description |
|---|---|---|---|
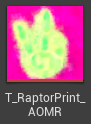 | AOMR Texture | 256x256 | A packed texture containing: Red Channel - Ambient Occlusion. Green Channel - Mask that outlines the edge of your footprint. Blue Channel -Roughness. |
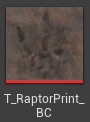 | Base Colour | 256x256 | A standard colour texture that has the appearance of dirt. |
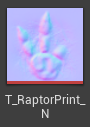 | Normal Map | 256x256 | A standard Normal map that gives your footprint depth. |
Step 4: Import Footprint Textures
- Import your custom footprint textures into your mod folder. We suggest a directory like
CreatureName\Textures\Footprints - Ensure the textures are set up as described with the above table, including the texture size.
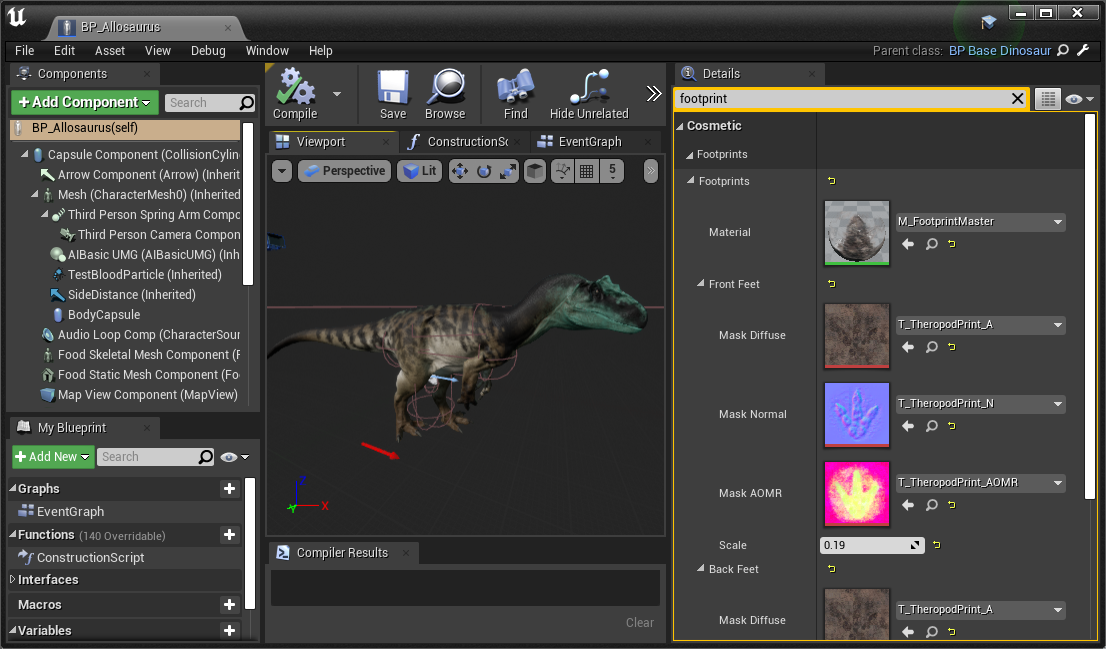
Step 5: Setup Footprints in Creature's Blueprint
- Open your creature's Blueprint and search for "Footprint" in the search bar.
- Slot in your front foot and back foot textures that you created in Step 3. If your creature has only 2 feet, slot in the same textures for both front and back feet.
- Leave the
Materialslot as the default "M_FootprintMaster" material. - Change the
Scaleparameter to change the size of your footprints to match the size of your creatures foot.
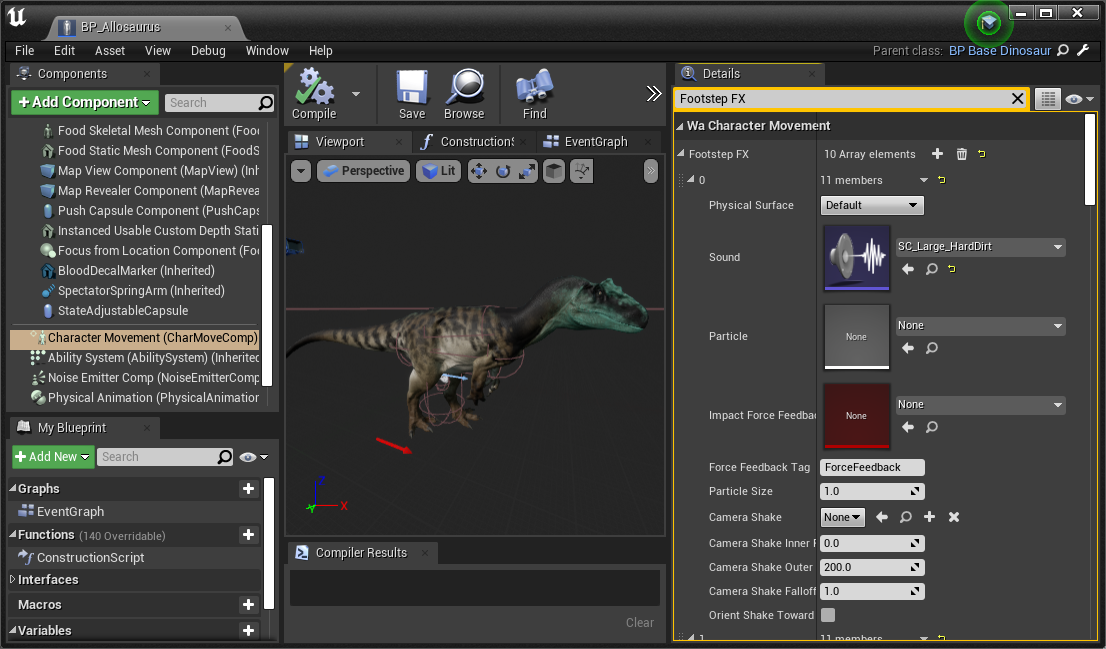
Step 6: Change Footprint Sounds
- Open your creature's Blueprint and select "Character Movement (CharMoveComp)" from the component list on the left
- Search for "Footstep FX" on the Details panel on the right.
- Here you can edit the footstep sounds and particle effects your creature makes when it moves. It is highly recommended to simply copy the settings from the base game dinosaur that most closely matches your creature. Tip: you can right click on the "Footstep FX" category from a base game dino and select
Copyto copy the entire category and paste it into your mod creature's blueprint to save a lot of time.
Summary
If you followed this tutorial, you have done the following:
- Setup Footprint sound cues on locomotion animations
- Setup Foot sockets on your skeleton
- Created and imported footprint textures
- Setup footprints in your creatures blueprint.
- Changed footprint sounds in your creatures blueprint.