Splitting Map Into Tiles
If your map is larger than 2kmx2km we highly recommend splitting your landscape into tiles and enabling World Composition. This will dramatically improve your map performance and will be a great step towards optimizing your map.
However, if you have already created your map, it will be difficult to retroactively add tiles without having to just remake your map from scratch.
In this tutorial we will explain how to split a single landscape into tiles to increase the performance and without losing your foliage and map work. We export and import the map in the exact same size so you will not have floating foliage. which will save you a lot of work. At the end you can move your foliage with the lasso tool to the different tiles.
WARNING
This tutorial uses World Creator Pro. There are other ways to split up a heightmap with tools like World Machine or Gaia as well.
Step 1 - Export your Heightmap
In Unreal Engine, check your landscape to get the full size of your landscape.
- Click on your landscape and check the details. In this example, it has 8.129 x 8.129 Resolution. Take a note of this information in addition to your X Y and Z values.
- Click on
Modes > Landscapeand the Landscape window will open. - Right click on "Heightmap" and choose "Export to file".
Now you have exported your heightmap to use in different programs.
Step 2 - Importing into World Creator Pro
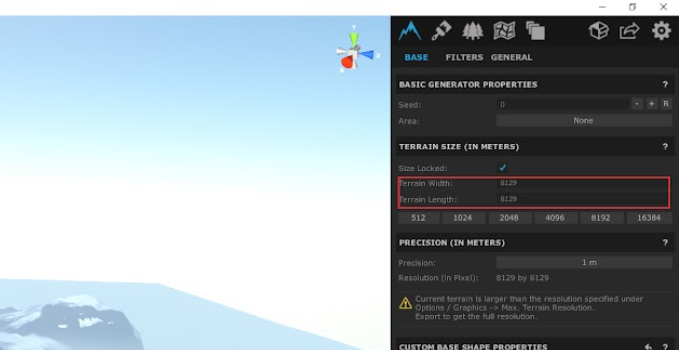
- Open World creator pro and check on the right size the "BASE tab".
- Search for "Terrain Size". Here you should enter your landscape size. In our example it is
8129 x 8129.
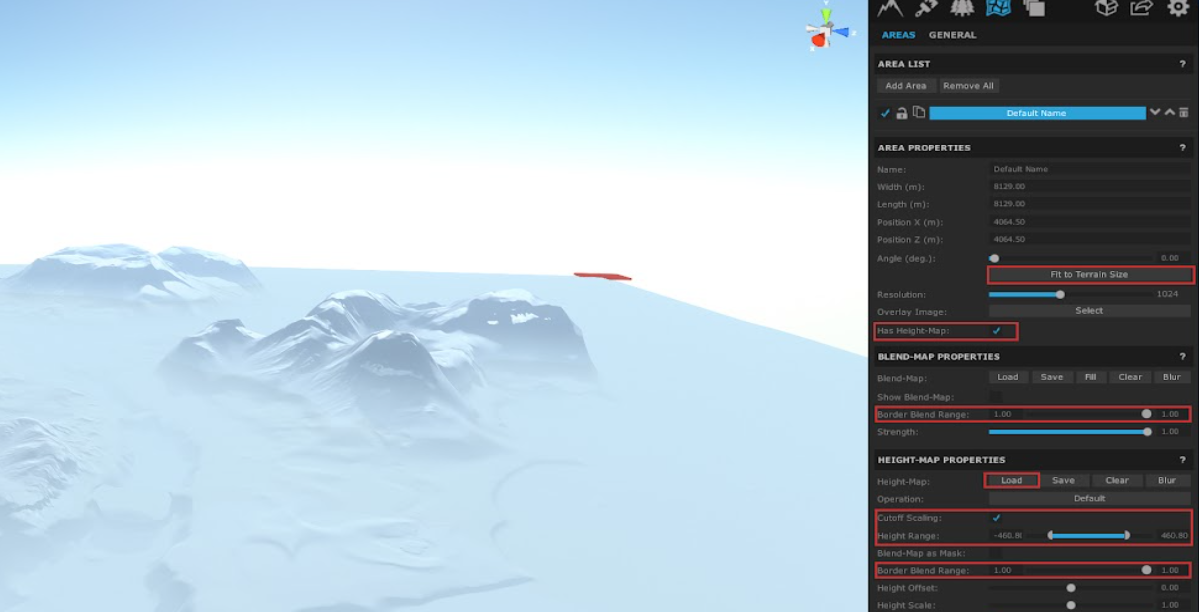
- Move to the "Areas tab" and click on "Add Area"
- Click "Fit to Terrain Size" to get the full size.
- Now move down to "Border Blend Range" and set the slider to right side to get "1.00 value".
- Check the "Has Height-Map" Box. A new box will open at the bottom.
- Now search for "Border Blend Range" again set the slider also to the right side to get "1.00 value". You will now get a flat plane.
- Now you can load your heightmap into World Creator. Click on "Load". If you load a "Raw" file you can set your "Width" and "Height" here. If you load a "PNG" you will get no pop up and it will be loaded immediately.
Step 3 - Calculating your Map Height Range
The X Y settings are not a problem. The tricky part is to get the EXACT Z value. You must replace your map 1:1 so you need to get this.
Unreal Engine and World Creator use different values and scales for the height range, so it is important is to know what values Unreal Engine is using. Unreal is uses -256 / +256 for 100% Scale. So is your Z value in Unreal 180 (like this example case) you simply do the following calculation:
256 : 100 x 180 = 460,80
This means, we will need 460,80 for value in World Creator.
Step 4 - Set Up Cutoff Scaling and Exporting
- Now that we have our value you can check the box "Cutoff Scaling" in the "Areas tab". You can enter here your height range. Just put on the left -460,80 and on the right side 460,80. Now you should have the exact height range in WC of your map
TIP
If you get size some differences in Unreal after your import you can increase “Level Step”. We put it to “9”. We suggest you set it to “9” either way, just to make sure you get the full details.
- Now click on "Export" at the top. You can export your map now and split it in tiles.
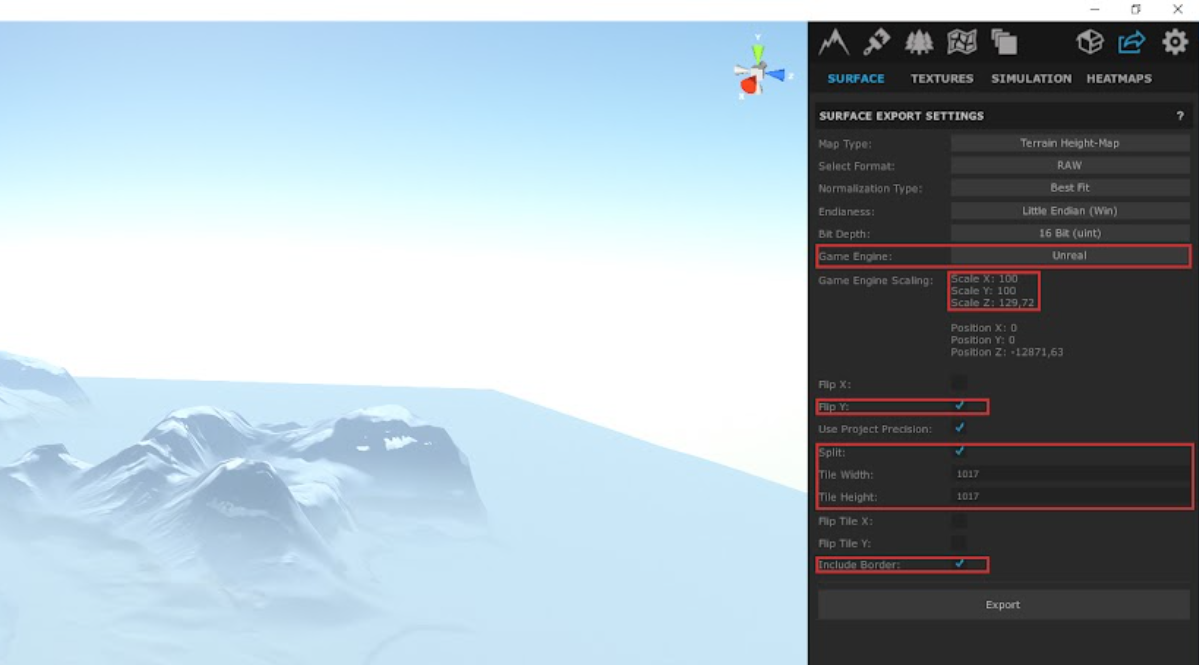
- Set "Game engine" to "Unreal".
- You can now see the X Y Z values. Take note of the Z value, you will need it in Unreal. In our case its "129,72".
- Check off "Flip Y". This is important or your map will not be in the correct order in Unreal.
- Also check "Include Border". Without this you will see cut edges between the tiles.
- Check "Split". Now you must enter your Tilesize. For our example we use "1017". Thats 64 tiles and a good size.
INFO
Unreal can make problems with different numbers and will get you an error that there are no landscape informations available. So 505 or 1017 are tiles which works well.
- Now you can click on "Export" and World Creator will save your map into many tiles.
Step 5 - Importing Back into the Dev Kit
- Back in Unreal you must first enable "World Composition". You can do that in the "World settings".
- After that you can open the "Levels tab". If you do not find it, click on "Window" at the top and search for "Levels".
- Now in the "Levels tab" click on "Levels". Click the option "Import tiled landscape".
- Now you can click on "Select Heightmap Tiles" and import all your tiles.
WARNING
Uncheck the option "Flip Tile Y Coordinate" or your landscape will not be in the right order. Remember, we already flipped Y in World Creator.
- Now check your Landscape Z value. Remember, you noted your Z value while exporting from World Creator. In our example we put in "129,72".
- Click "Import".
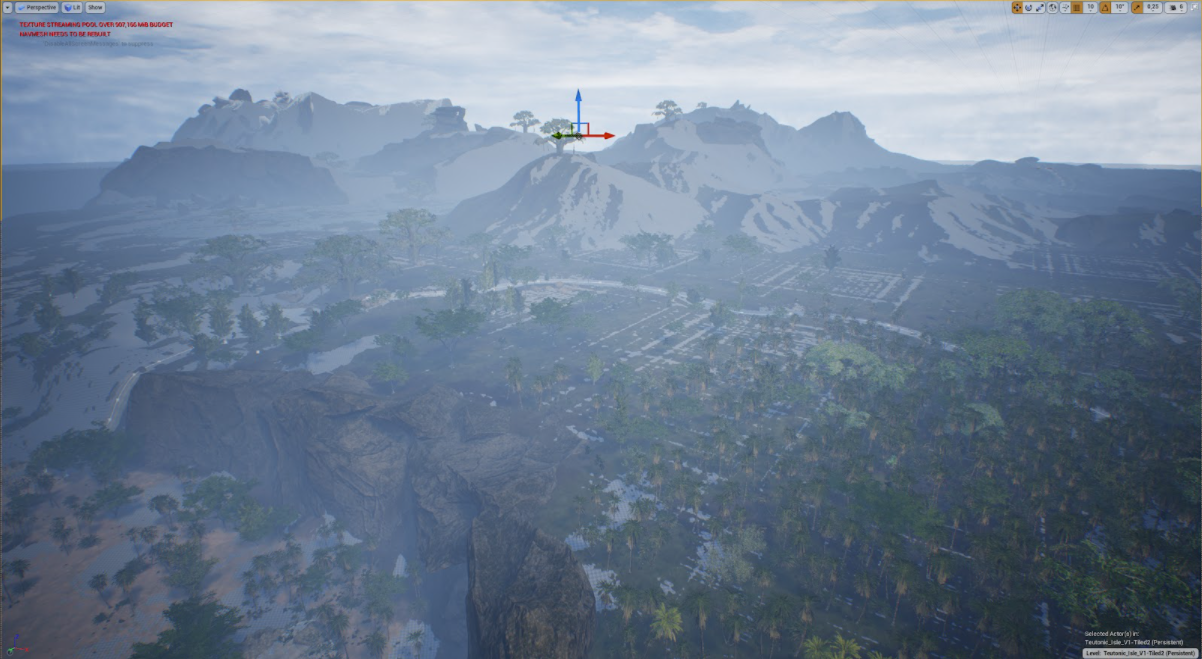
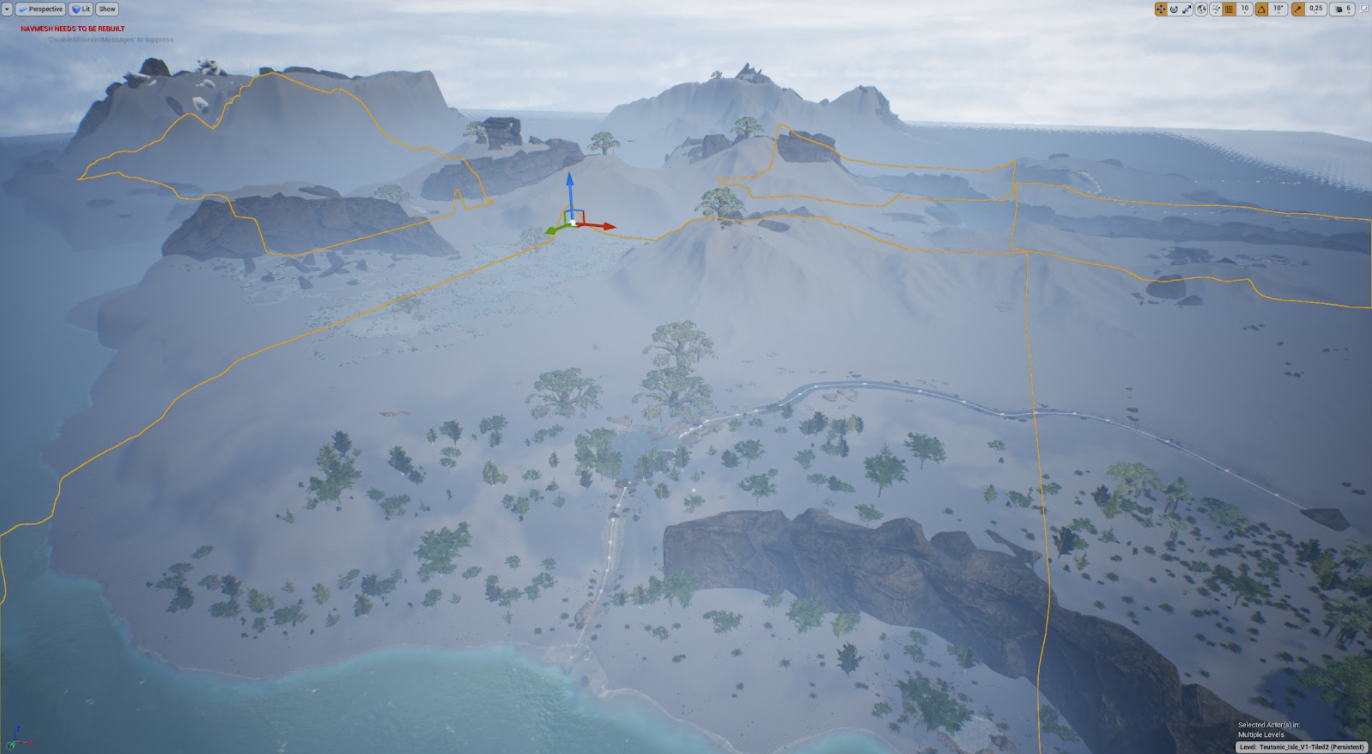
The image below is what it should resemble. You may have to slightly move the landscape to make sure it's in the exact same position as your old untiled landscape. (Here you can see both landscape overlapping. Perfect!)
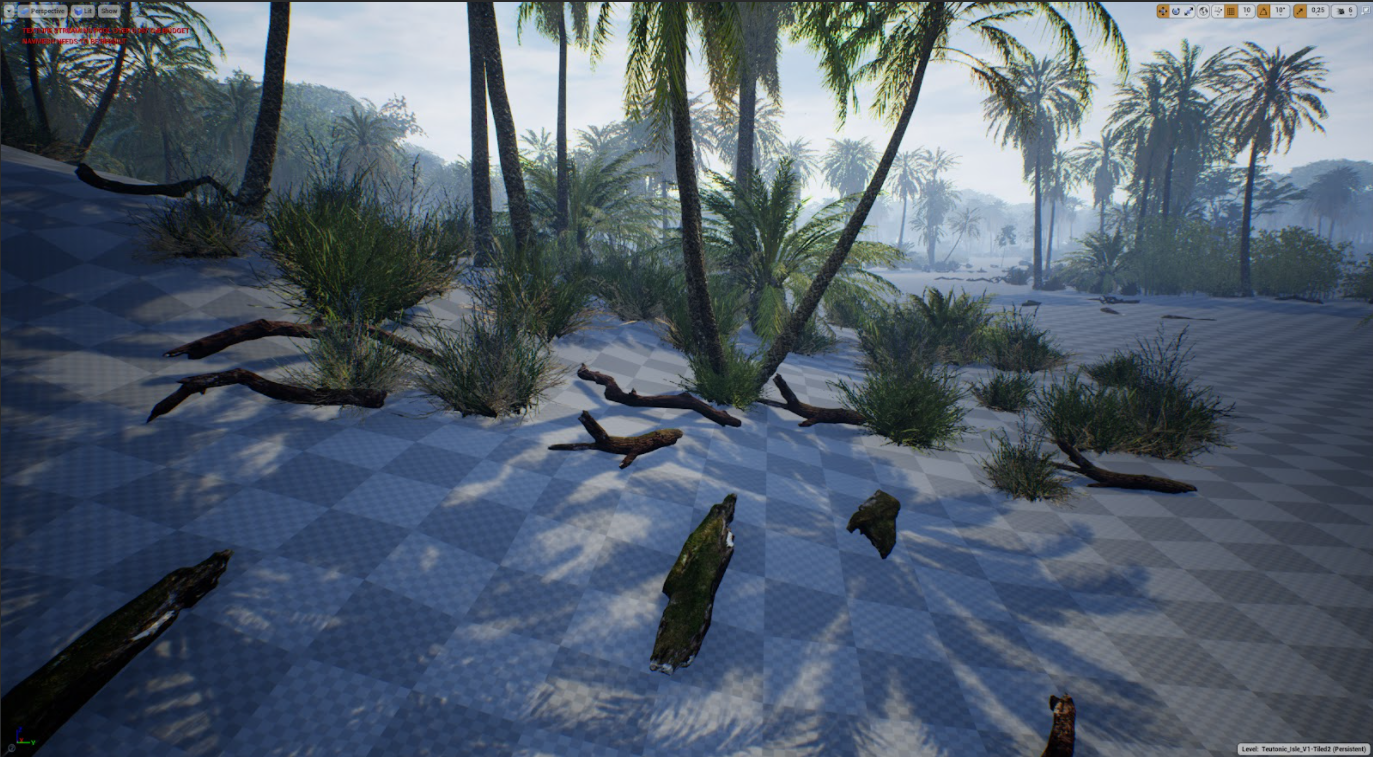
Congratulations! You have now imported your single map as tiled map with the correct size. All your foliage should be good and you can move them over to their corresponding tiles with the "Lasso tool".
Summary
In this tutorial you have completed the following:
- Exported your landscape heightmap
- Imported your heightmap into World Creator and chopped it up into smaller tiles
- Reimported the smaller tiles into the Dev Kit to use on your map