Place Start and Spawn Points
In order for players to create a character and spawn on your level, you require Start and Spawn points.
Step 1 - Create Char Select Point
This is the point where players will create a character and edit their skins. Please make sure this is a well lit area, and has enough room to display a very large creature in case someone wants to load a large mod creature on your map, such as a Sauropod or a Dragon.
- Open and load your custom Mod Map.
- On the persistent level, place a
BP_CharSelectPointin the world. Can be found inContent/Blueprints/CharSelectSimply drag and drop it into your level.
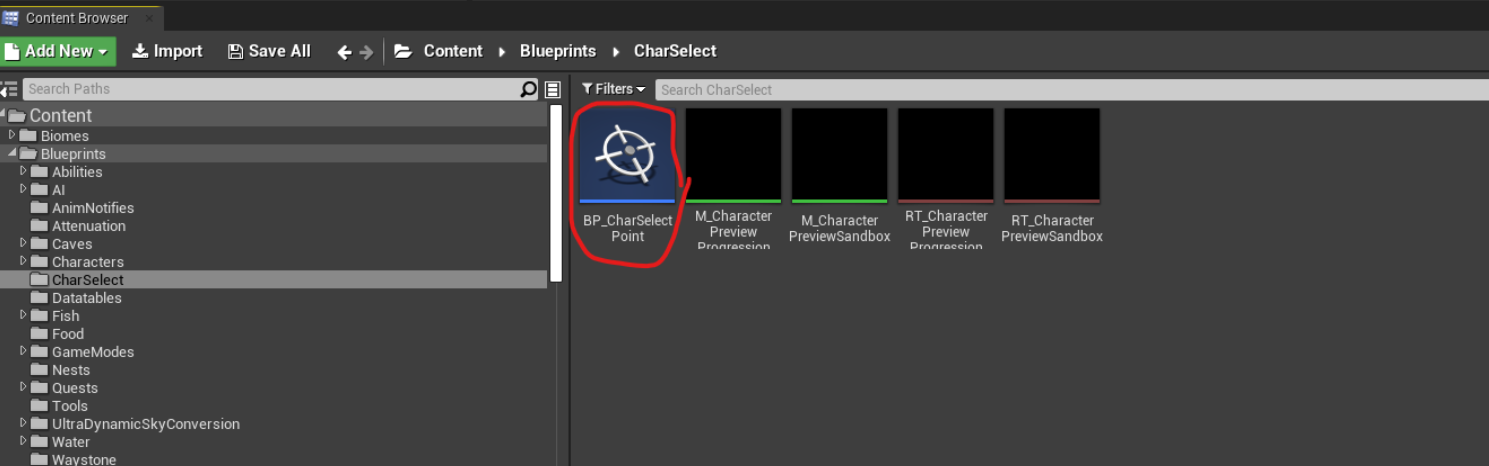
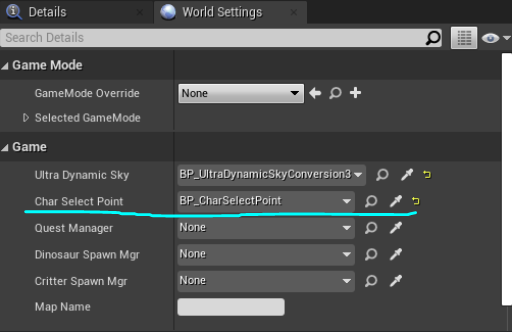
- Make sure it is hooked up in the world settings under “Char Select Point”
Step 2 - Place Spawn Points
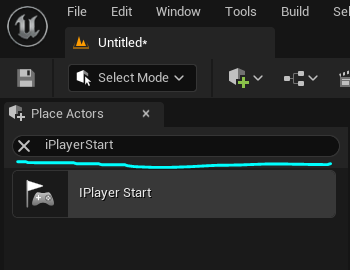
- In the "Place Actors" window, search for
IPlayerStartand drag it into the world. Ensure it is placed on the persistent level and not on a tile/sublevel.
TIP
Adding more spawn points will make the player spawn at one randomly. We suggest spreading spawn points out around your map to make it harder for players to spawn camp.
- Make sure it is not clipping into the ground. If it is clipping into the ground, it will not spawn the player and you will get a "Bad Size" image on the spawn point.

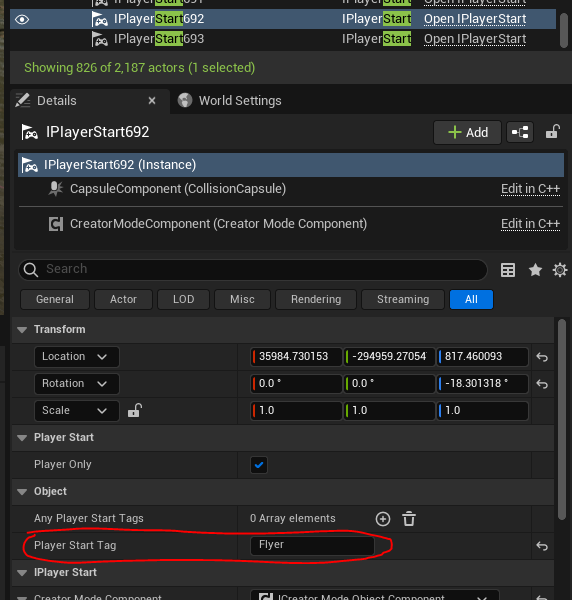
- Assign a Player Start Tag to your spawn point. This tag determines where different creature types spawn. Some creatures rely on these tags to be accurate, such as aquatic creatures like Kaiwhekea requiring to spawn in water, otherwise they will have a bad experience on your map, so please ensure these tags are accurate to their placement.
Aquatic - Should spawn character in the water.
Amphibious - Should spawn character on the shore near oceans, lakes, or rivers.
Flyer - Should spawn character on high cliffs or plateaus which will require flying to get down from or act as a good starting place for flying creatures to take off of.
Land - Should spawn character on land.
- Set your game modes. Go to world settings again and make sure that the GameMode Override is set to None.
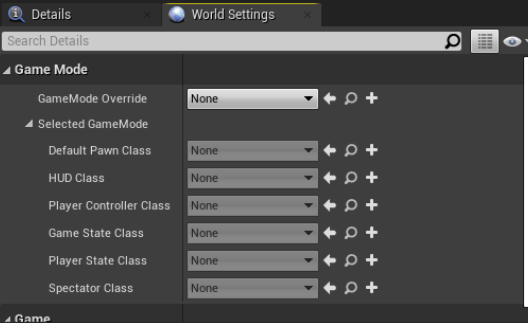
- In the menu at the top of your Editor, use the following Blueprints settings in the image below.

Playing Your Level
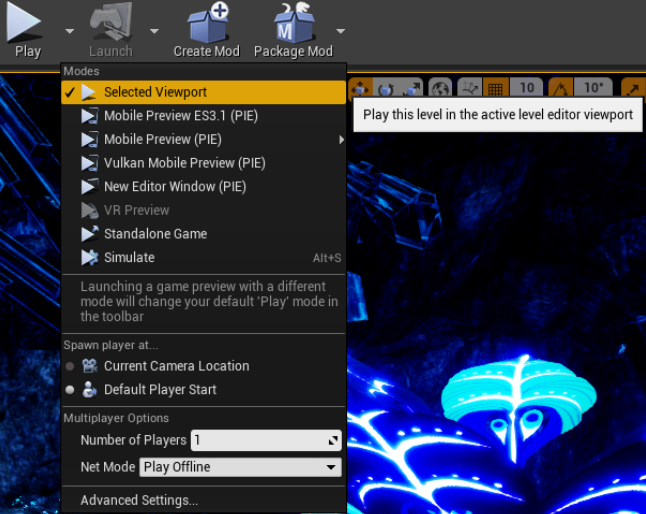
Once you have set up your level from the settings below, you can play in-editor to test out your map. Use the following play modes:
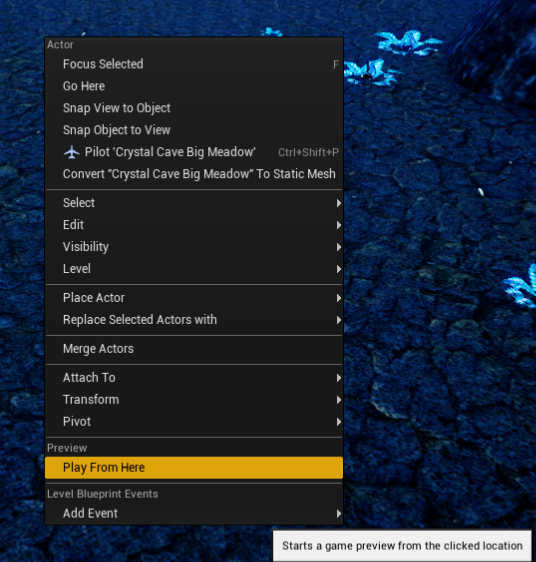
Selected Viewport: Currently works fine and will bring you right into the game char select menu. Do use.Simulate: May crash your editor. Avoid using this!Play from here: Works! (Right click on your level and select 'play from here')
Summary
In this tutorial you completed the following:
- Placed a Character Start Point
- Placed spawn points