Setup Map Lighting and Weather
Due to the complexity of lighting in Unreal Engine, we highly suggest simply copy + pasting the lighting from Panjura over to your map to begin with. Then, we can edit the lighting and weather to be unique to your map.
Step 1 - Copy Assets from Panjura
- Load up Panjura
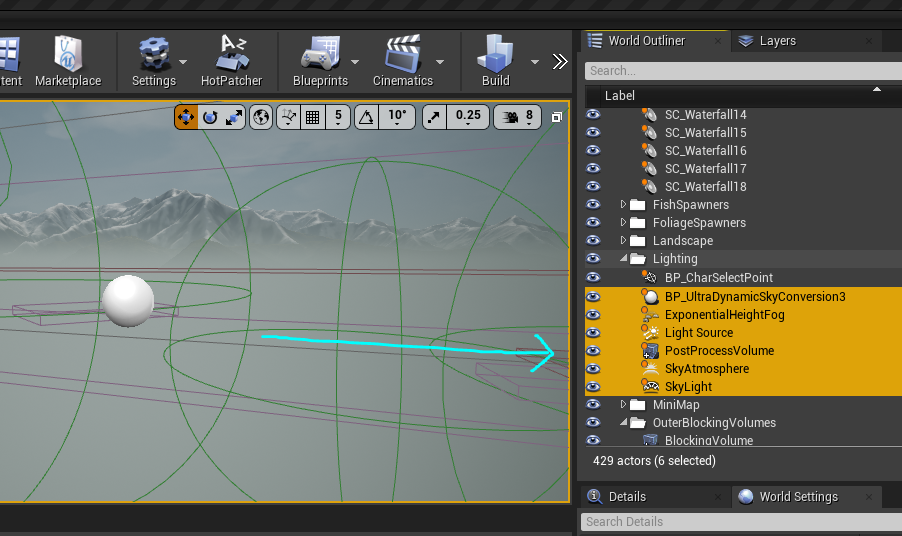
- Select the following items from the World Outliner:
BP_UltraDynamicSkyConversion3ExponentialHeightFogLight SourcePostProcessVolumeSkyAtmosphereSkyLight
Right-Click > Edit > Copyall items.
- Load up your mod map.
- Make sure the persistent level is selected and press
Ctrl + Vto paste all the items. - This will put all the items in the level with the same settings as Panjura.
- Open your World Settings and assign your Ultra Dynamic Sky into the slot.
Step 2 - Edit Lighting and Weather
- From here you can adjust your post-processing settings and lighting.
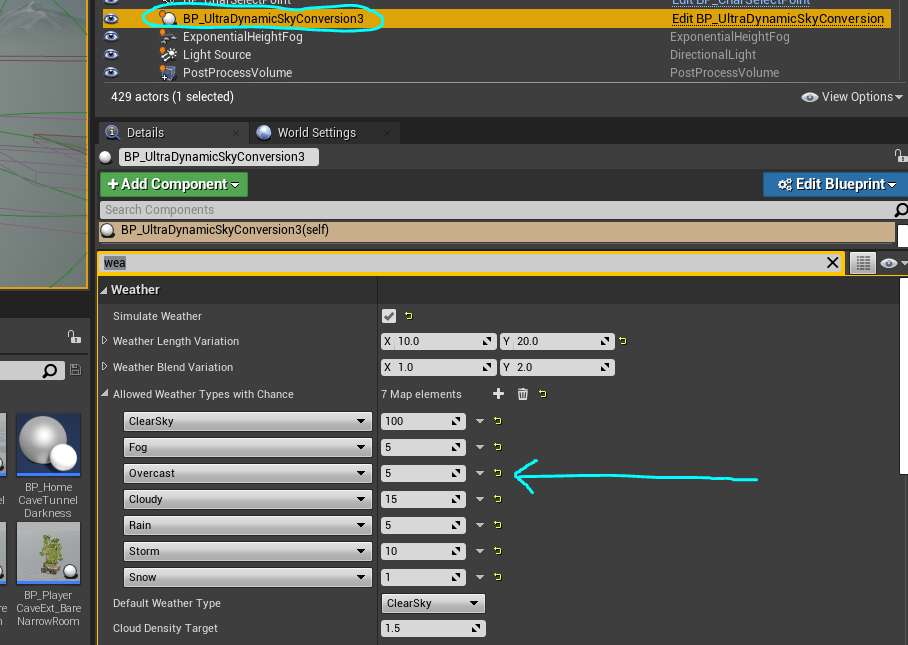
- Select Ultra Dynamic Sky for even more customization options.
- To change weather on your map, or the chance for certain weather to happen, select Ultra Dynamic Sky and scroll down to
Allowed Weather Types with Chance. This lets you specify each weather type and the chance the weather will happen. - There are also other weather settings like Weather Length and Default Weather Type.
Summary
In this tutorial you completed the following:
- Copied the lighting and weather from Panjura over to your map.
- Assigned Ultra Dynamic Sky to your map in World Settings.
- Adjusted weather.