Modding Skins
Modding new skins into Path of Titans is very straightforward, and this tutorial will walk you through step-by-step on how to add skins to the game. This tutorial is for modding skins for base game dinosaurs. If you are creating a brand new mod creature and want to create skins for it, we suggest you follow the Modding New Creatures Tutorial that has a step discussing creating and adding skins.
You can create skins through many different 3d painting programs, such as Substance Painter, 3D Coat, or Blender. We highly recommend using Substance Painter to paint your skins, as it has dozens of benefits and saves a lot of time.
Prerequisites
Before you start creating your creature, you will need to have the following:
Once you have completed the above two steps, you can start with creating your creature.
Painting the Skin
To paint a dinosaur skin, you must first export the mesh and normal map. You can then import these files into your 3D painting software and paint your skin overtop them.
TIP
We highly recommend using Substance Painter to paint your skins, as it has dozens of benefits and saves a lot of time. Check the details below for a few tips on making skins in Substance Painter.
Details
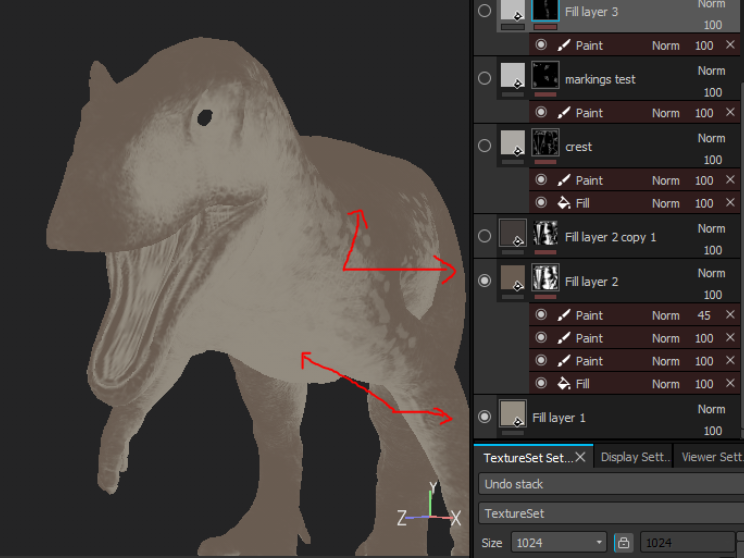
Painting With Masks
When painting your colours, each Base Colour layer should be a Fill Layer, with a black mask applied, and then Paint layers applied to the mask itself. This ensures that you will never paint with more than 5 colours and allows for the masks to be exported easily later.
Exporting Masks Correctly
When exporting your skin masks, they need to have exact colours and a follow specific format. Watch the video below for a tutorial on how to export your masks correctly:
Using Curvature Masks
You can overlay the provided skin wrinkle texture onto the model to paint with reference to the contours and scales of the model. This is called a Curvature Mask. Check the video below for a tutorial on how to use Curvature Maps in Substance Painter.
- Add Fill Layer
- Import Curvature Map into shelf and drag + drop it into the Base Colour slot of the fill layer
- Set the Layer Blend type to “Multiply” and keep it above all other layers.
Step 1: Export the dinosaur mesh and textures from the Dev Kit
Step 2: Paint the skin texture files in your 3D painting software

Set Up the Skin in the Dev Kit
Step 3: Setting up the SkinData Asset in the Dev Kit
Step 4: Moving all assets into the Mod Folder
Step 5: Set up your BP_ModData

Uploading, Building, and Releasing your Skin Mod
Now that you have set up all your skin textures, DataAssets, and BP_ModData, you can upload the files to the Alderon Games website in order to build your mod and then release it to the public!
Step 6: Uploading to the cloud cooker
Step 7: Testing and Releasing your mod
Congrats! You have now released your skin mod to the public! Be sure to look for feedback from players and what people think about your creation.

After Releasing Your Mod...
Releasing your mod for the first time is amazing! However, you will likely want to update your mod with bug fixes, feedback, or add more content. Here are some helpful articles about how to maintain your mod and add more content to it.