Creating Skins
Within the game, players can unlock skins through achievements and marks. These skins can be customized with colours and 3 patterns.
Dinosaur skins are set up using masked layers within Unreal Engine inside the dinosaur skin shader. The skin will consist of a “Base Pattern” layer that will be applied underneath the “Markings” layer. Colour customization allows for players and artists to create many skin variations while using very little texture memory.
▶ Check out our tips for painting skins! ◀
INFO
Mouth, teeth, and claw colours are handled in the shader, and do NOT have to be painted for each skin.** More information here.
Each skin consists of:
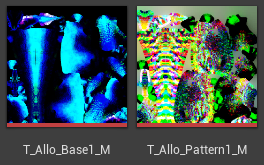
4096x4096RGB texture that contains the Base Pattern4096x4096RGB texture that contains the Markings
Base Pattern
The base pattern is a blend of colours that provides the bottom layer of the hues and colours on the skin.
The entire Base Pattern can only consist of 4 solid colours. (However, you can have these colours blend with each other via transparency to create gradient blends)
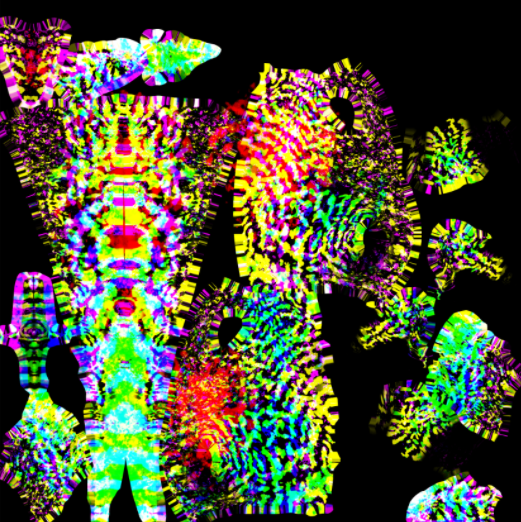
An example Base Pattern layout is displayed below.
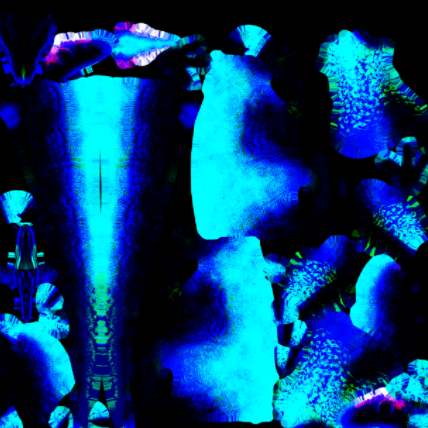
This is the final mask of a Base Pattern that will be seen underneath the markings. It consists of 4 unique colours stored in the RGB channels of the PNG. Black is also used to denote a colour as well. (Red, Green, Blue, and Black)
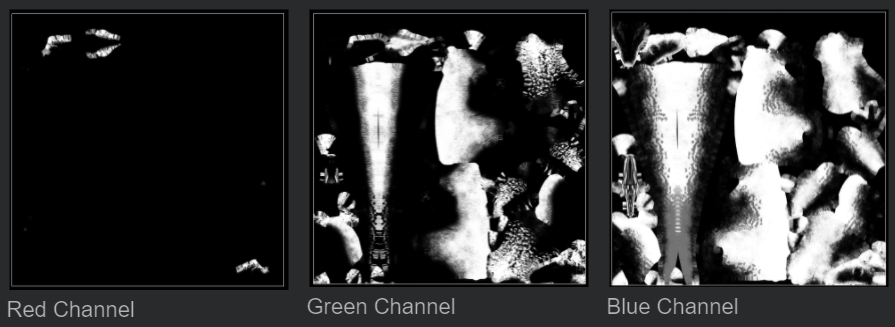
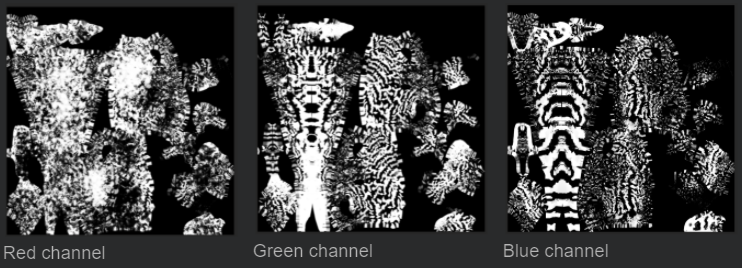
Here’s a view of each colour channel in the image:
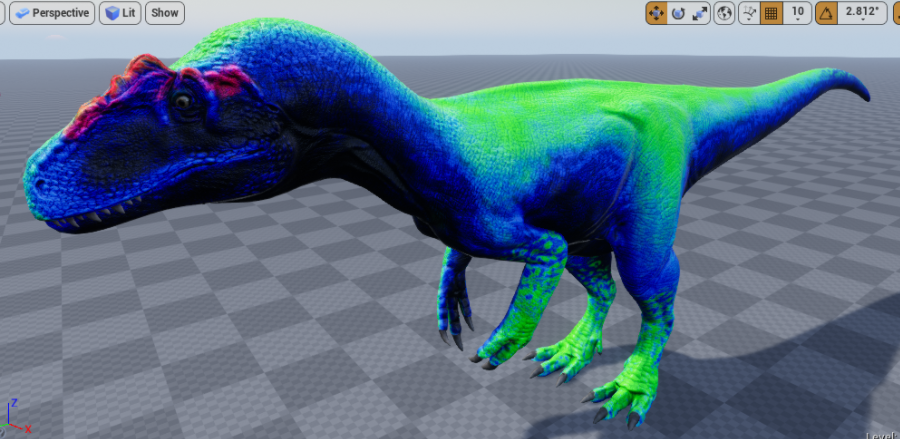
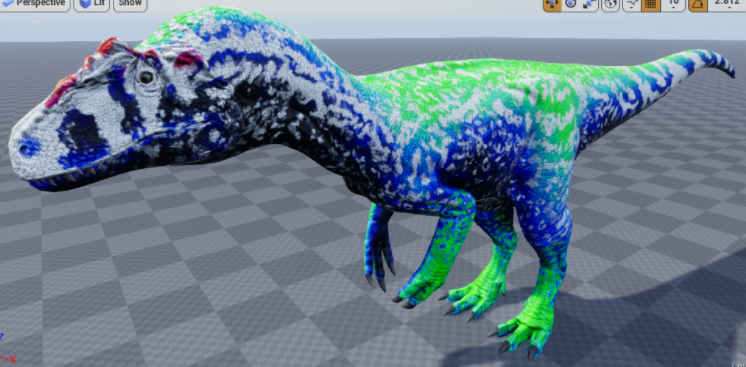
Above is a visual representation of the mask displayed on a model. Colours represent the channels they are packed into.
Note that the colours are layered one on top of the other, so if you wanted the black layer showing through the green layer you would have to make sure that the corresponding area was transparent on the Red, Green, and Blue channels as well.
Below is an example colour combination using colours that are specified within the dinosaur skin shader. Note that there are four total colours. White underbelly, lime middle colour, dark green back, and orange crests, however there can be blending of these colours to create subtler colours if needed, such as a green-orange on the crest.

Markings
Layered overtop the Base Pattern is the markings. This is a single, solid colour that has priority over all other colours. If you want a colour to display through the Markings layer, you will need to keep that part of the Markings layer transparent. The Markings masks must be provided in a packed format, where each marking pattern is inside an RGB channels of a texture. An example Markings layout is displayed below.
Here’s a view of each colour channel in the image shown above:
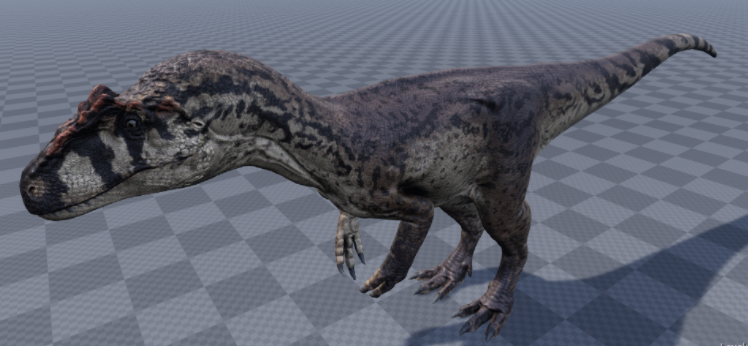
An example of the markings displayed overtop the Base Markings layer, as shown in white. Below are two examples of Markings variations (in black) when layered over a brown Base Pattern layer.
Summary
If you follow all the above steps, you should have these final textures that will be used in-game:
- Base Pattern
- Markings
INFO
For each skin you must create these 2 textures.
Congrats! You can now move on to the next step. Back to tutorial.